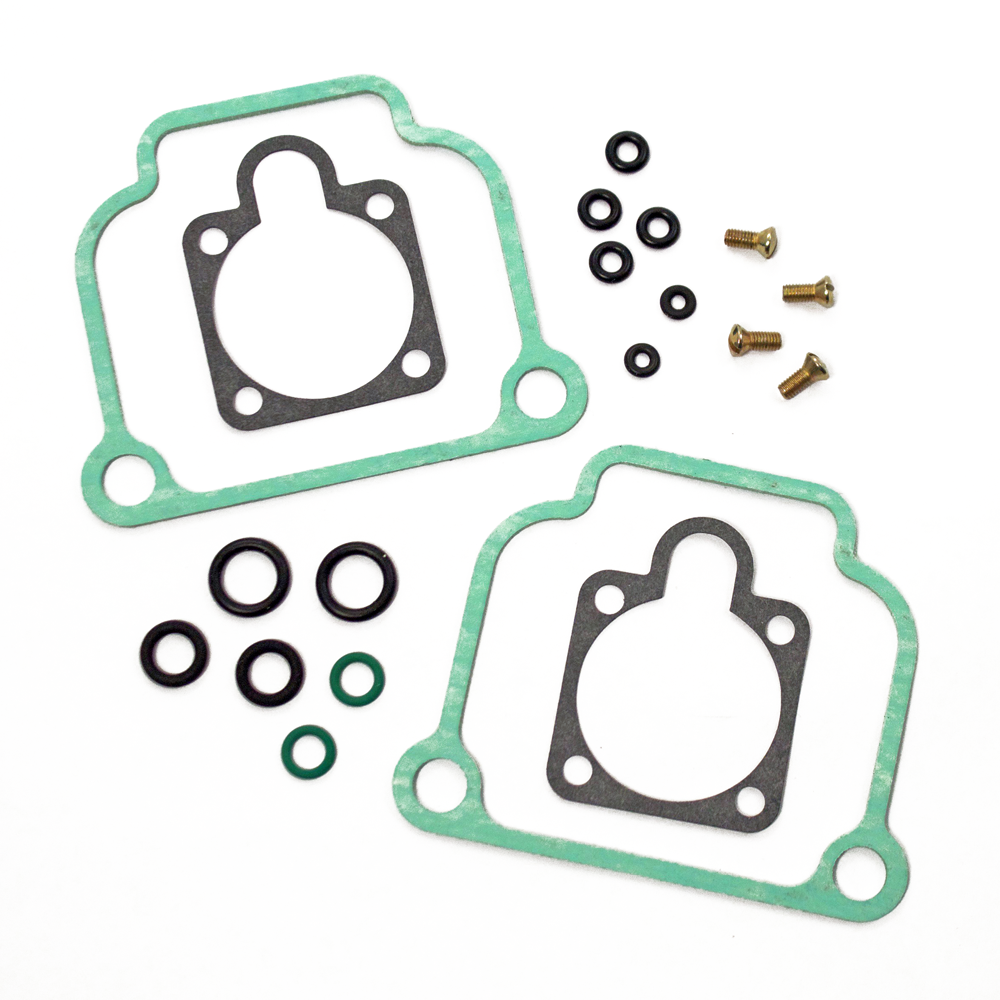

LEAF is unable to ship Genuine Rotax Parts outside of the USA or to freight forwarders. We apologize for any inconvenience.
Leading Edge Air Foils will not be providing Rotax engine training classes in the Spring of 2024. The next opportunity will likely be in the fall of 2024. Please see www.rotaxirmt.com for a complete list of training facilities, classes and dates.
Leading Edge Air Foils, LLC “Seller” is not the manufacturer of Rotax™ engines, engine accessories or engine spare parts and does not offer any warranty on them. Seller hereby passes-through and transfers to buyer the manufacturer’s written warranty on Rotax™ engines, engine accessories and engine spare parts as the sole warranty on these products. Seller makes no other representations or warranties, express or implied. More detailed information on Rotax™ manufacturer’s written warranty is available from the seller upon request, or via the internet at www.flyrotax.com.


 |
  |
 |
|
|
|
|
|
|
|
|
|
| LOCATION | VIEW | HELP | |||||
| 1216 North Road | Online Catalog | Contact Us | |||||
| PO Box 231 | 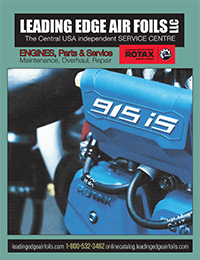 |
Forgot Password | |||||
| Payment Information | Lyons, WI 53148 | My Account | |||||
| Return Policy | |||||||
| Shipping Information | HOURS (CST) | Ordering Information | |||||
| Phones: M-F 8am to 5pm | Terms & Conditions | ||||||
| LEAF Phone Numbers | Fly-In and Retail Store: | Satisfaction Guaranteed Warranty | |||||
| Sales: 1-800-532-3462 | M-F 8:30am to 4:30pm | ||||||
| Fax: 1-262-763-1920 | COMPANY INFO | ||||||
| FLY-IN DIRECTIONS | About Us | ||||||
 |
We are located 1/4 mile north of | ||||||
| highway 36 at 1216 North Rd., | FAQ | ||||||
| in Lyons, Wis. Our grass landing | Changing or Cancelling an Order | ||||||
| strips are 3100 ft. East-West and | Hangar Sale Flyer | Our Products | |||||
| 2100 ft. North-South Latitude 42° | ROTAX Price List | Our Shopping Cart | |||||
| 39 min.: -60"; Longitude 88°, 21 | Our Website | ||||||
| min. -45" | State Sales Tax Collection | ||||||